How to work with white balance
„Yo bro, this is street – shoot it black and white“, said Heinz-Günther and changed his camera setting to default JPEG with picture style.
Don’t be like Heins-Günther. Shoot it the right way. I’ll explain to you why it is important to consider white balance, even if you only shoot black and white.
 It is a sunny day in June with clear sky, so you’re on the streets looking for a nice situation to capture. Lovely. You know black and white pictures are your style. And there is this empty spot in your flat where a printed street picture would perfectly fit. Lets have a look through your initial camera setup.
Inhaltsverzeichnis
What Is White Balance?
In general, white balance is nothing else than the levels of red, blue, and green signals from your image sensor. Wikipedia says this:
In photography and image processing, color balance is the global adjustment of the intensities of the colors […]. An important goal of this adjustment is to render specific colors – particularly neutral colors – correctly. […]. Color balance changes the overall mixture of colors in an image and is used for color correction.
This slightly-too-technical paragraph only says that you want to have a balance between the colors. We all know the morning sun and the bright light at noon. These two situations are completely different with regards to color balance. While red in the morning, it is blue and green at noon.
So, you need to establish an average between red, green and blue. This so-called white balance (as „white“ is made of red+green+blue) adjusts usually green to match the level of the others. In other words: when your light situation changes, you should adjust the white balance – for example, when clouds appear in the sky and cover the sun. Even if you shoot Black and White, your chip will ???
Color Temperature of Different Light Sources
So, when you’re out, you will see many different color palettes. For example, when it’s a cloudy morning in Frankfurt vs. a bright midday in the Alps. These completely different setups result in a different color palettes. Measured in Kelvin, we can say 4200K vs 5800K. You also encounter this indoors: LED spots versus neon lights. So we’re talking about different color profiles.
What happens in your cam?
You can only show what was captured. So, when you try to shoot the streets in a snowy winter village in bright sun, you may realize it is hard to capture all colors. Because the light is gonna be reflected by the bright snow. So your pics will most likely be overexposed if you don’t use filters.
Along the same lines, you’ll have a crappy white balance. Sure, you can adjust it in post processing if you shoot RAW. But let’s skip PostPro for a moment.
What if you shoot the ocean with a bright blue sky and used a incandescent setup? You could loose a tremendous set of blue tones, because your blues may get burnt out. Therefore it will be hard to correct in post processing, as blue has already reached the peak 100% and is now at max. You will need more time to adjust it afterwards. We don’t want to spend hours on the computer. We want to be outside on the streets. Hence, you adjust the white balance to „sunlight“. The electrical signals from the chip will be interpreted correctly and the picture is stored in a proper way on your storage card with white balance information.
Why is it important for street?
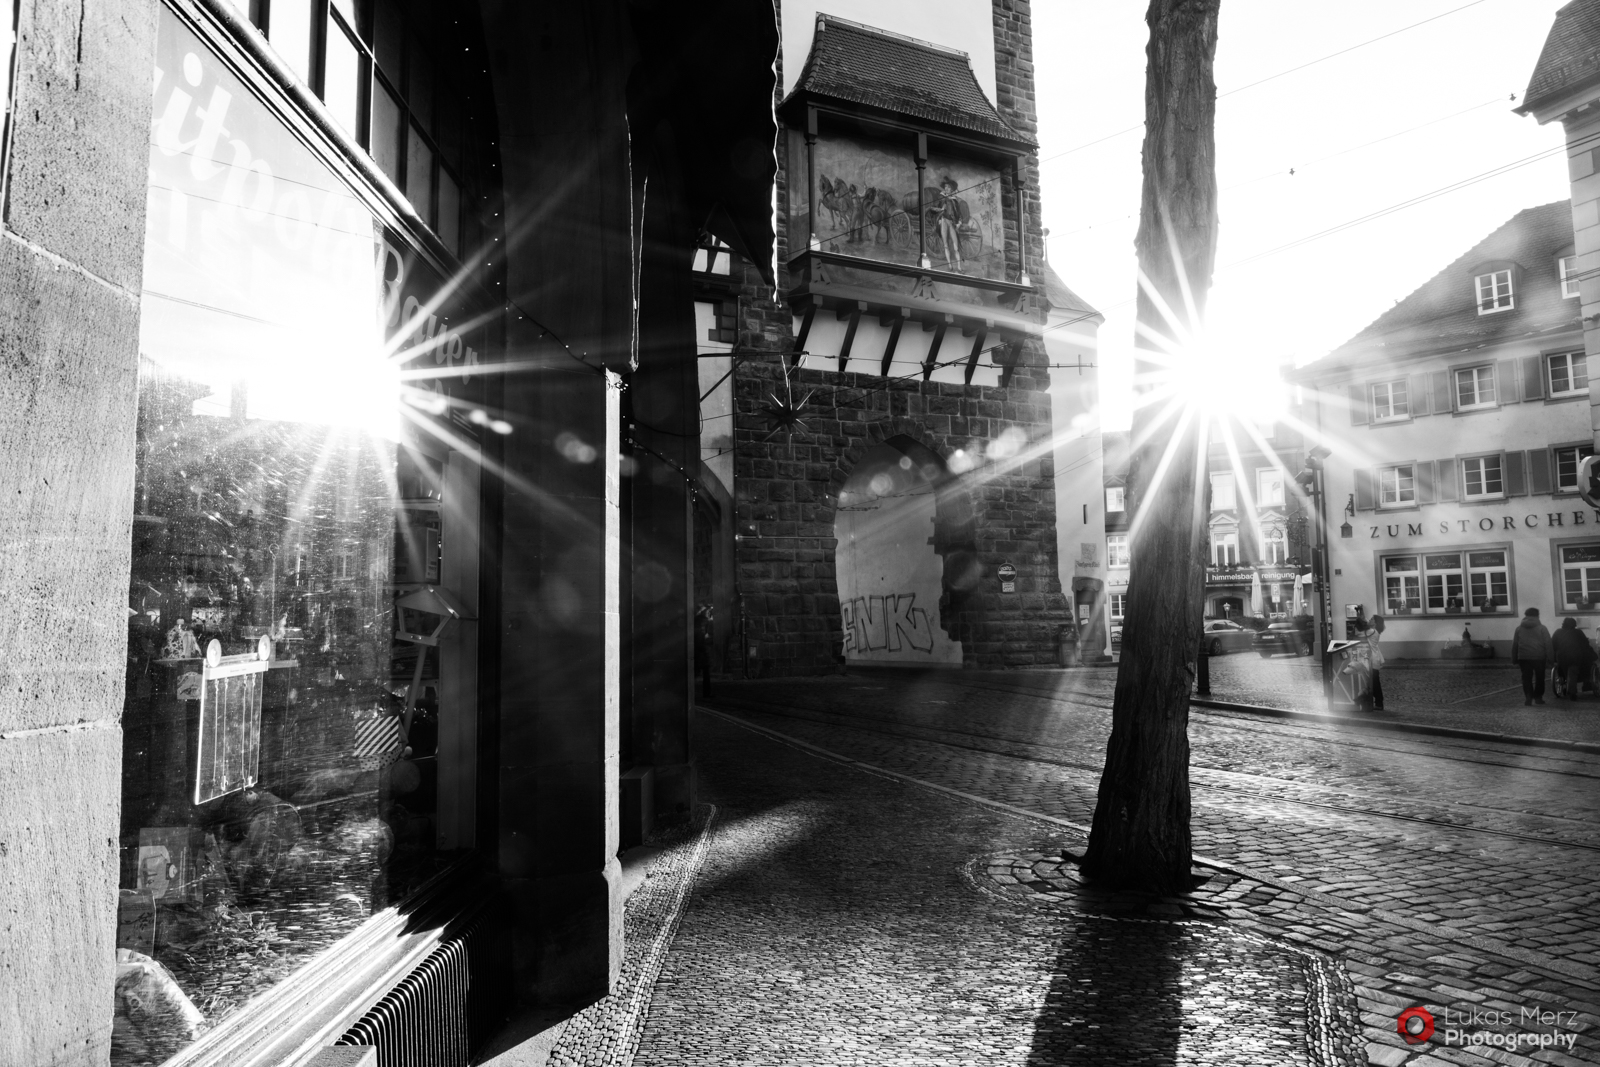
So, even if you convert it afterwards in black and white, you have all information in the picture. Maybe you need it, maybe not. But you definitely want to have the information available when it comes to developing all the colors and a fine difference in contrast. It is key to capture every piece of information that’s available and be safe. You can interpret color in black and white. So when your color schema is mixed up, your contrast gets lost. This could be a major problem when you shoot under dark circumstances like the example on the right.
Post Processing White Balance
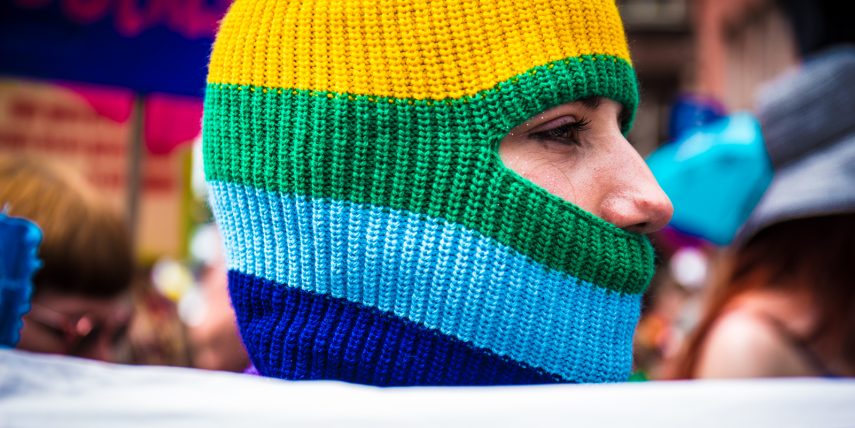
To recreate a neutral image impression, it is important to know something about your picture. So, we’re looking in a series of pictures, shot at the same place and time for a white spot. Here the man’s cape. Easily you could just use the WB tool and pick the color of that cape. But have a closer look: the flag right next to him throws a red shadow onto that fabric. So, choose wisely young Padawan.
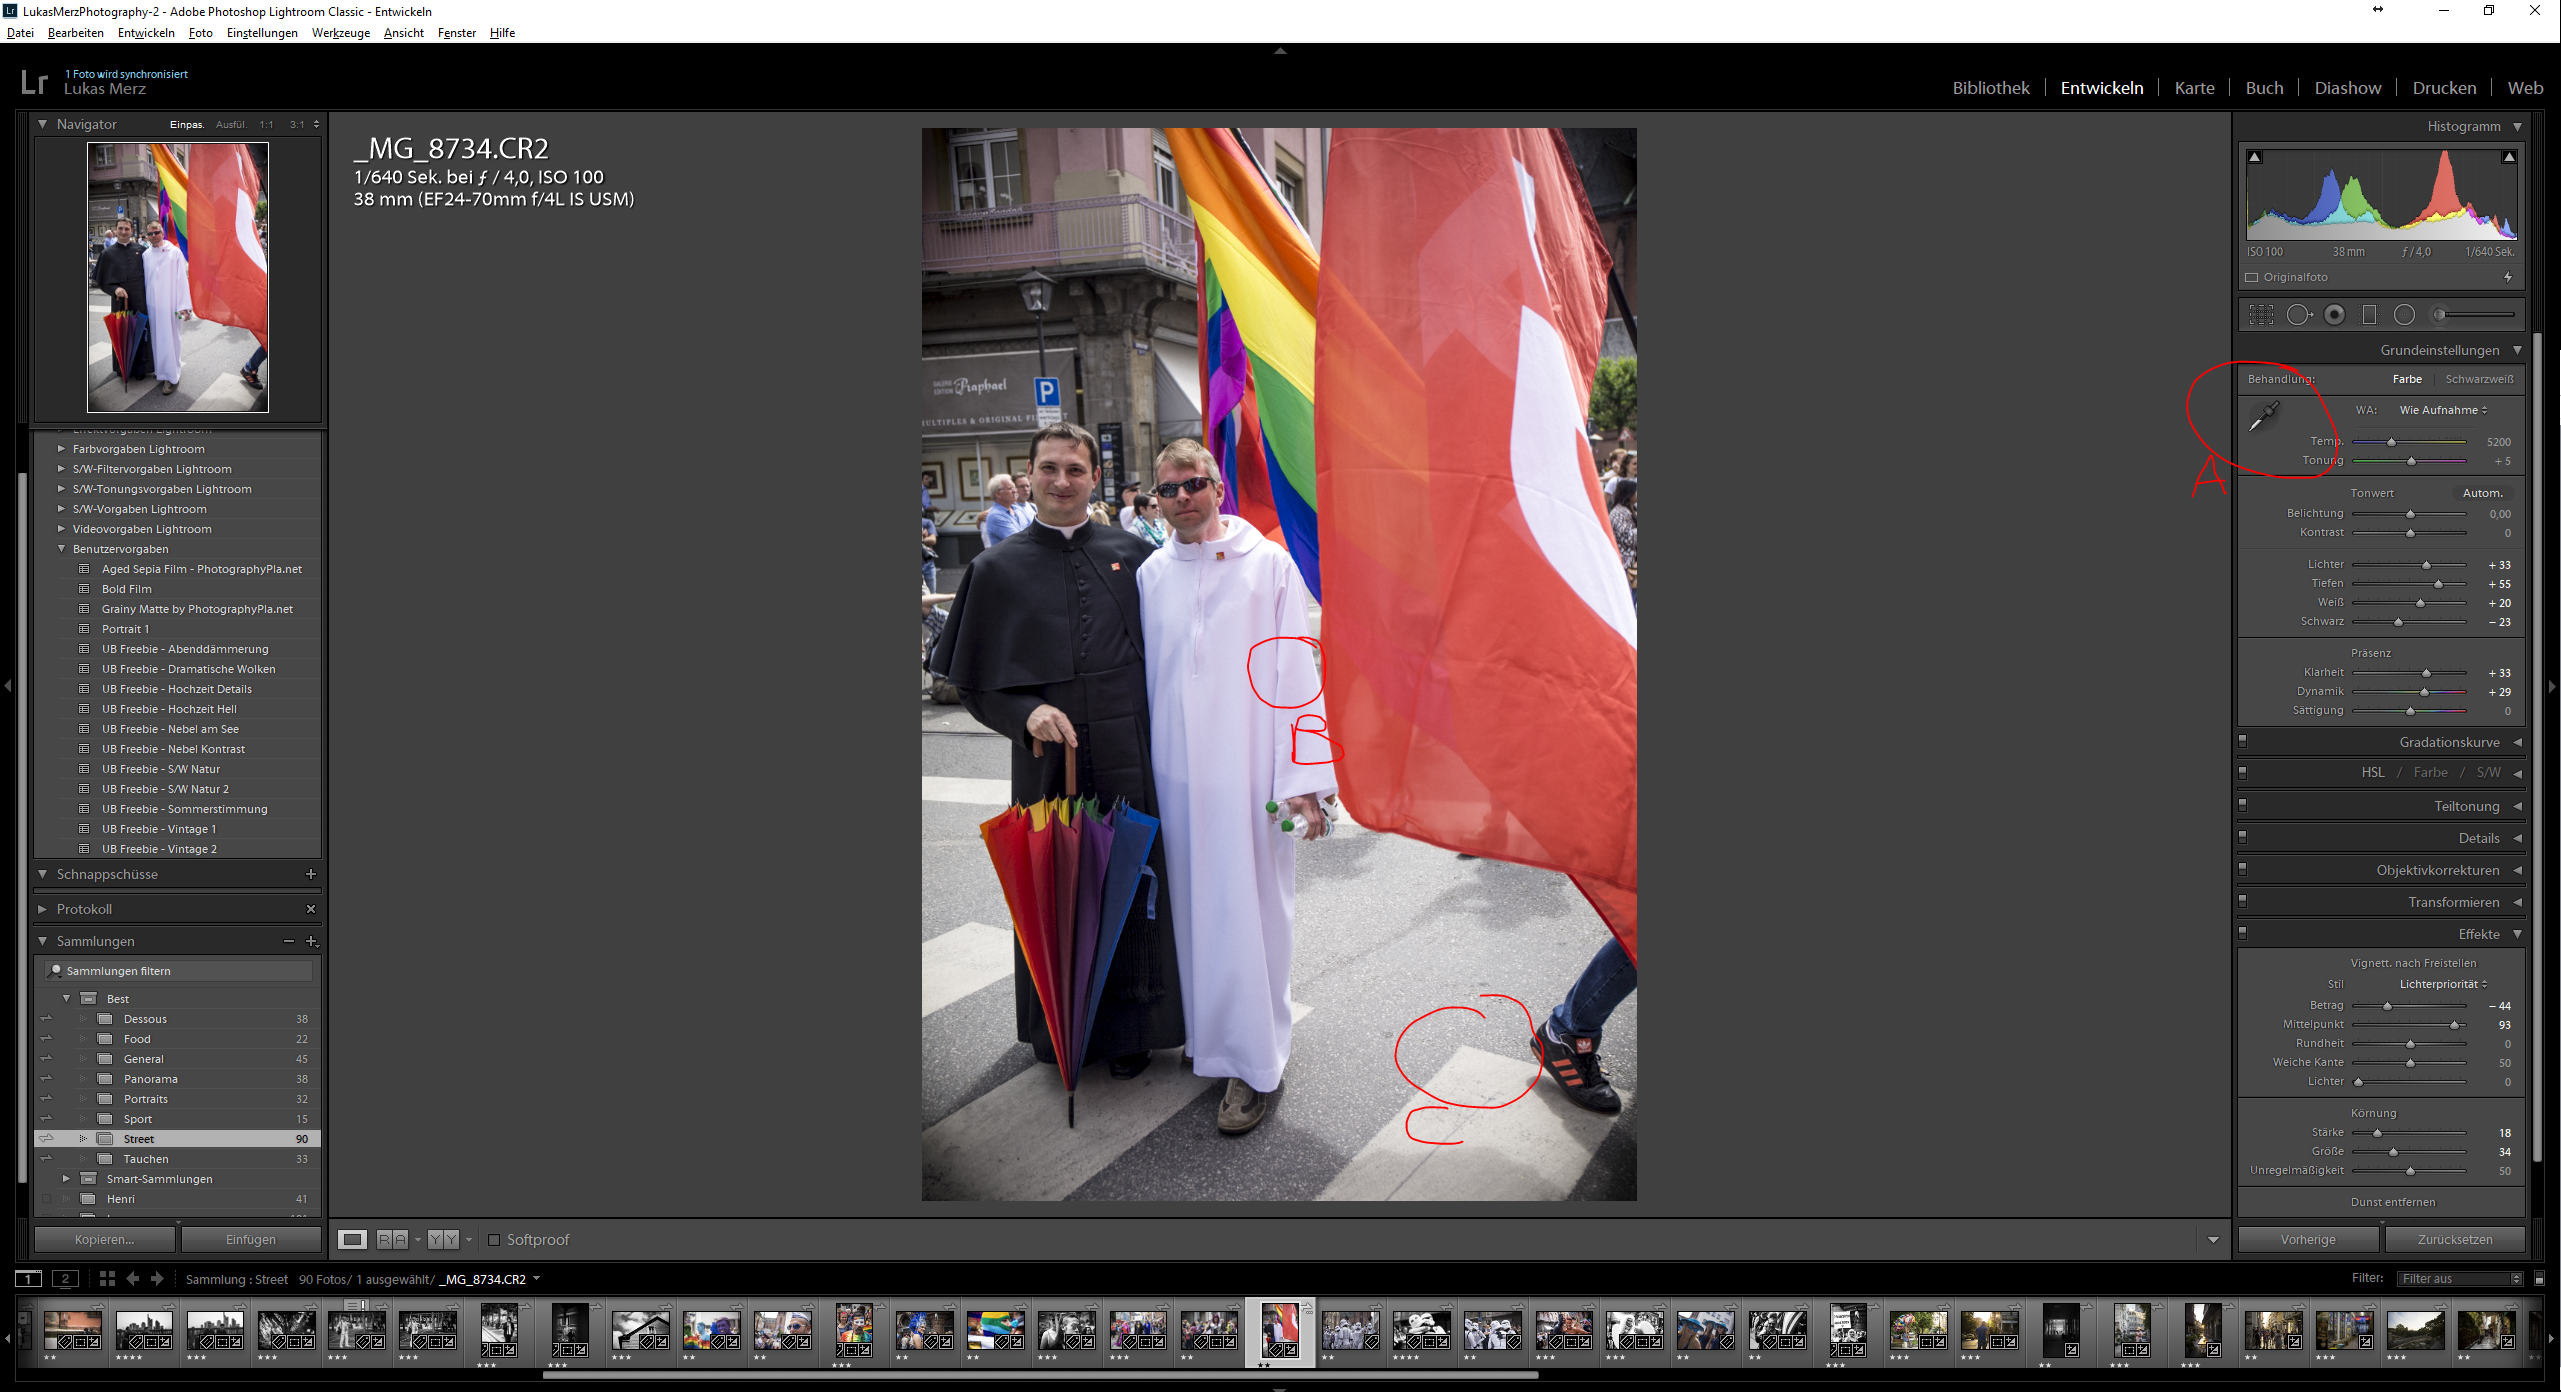
I would recommend something in the lower section. After that, Lightroom will adjust the color temperature and tone on its own. Usually the result is really good. In this example, I adjusted it +100K, because I want to have a slight reddish impression. But more to this method in a later post. Remember, this is only possible if you shoot RAW images. If you took JPEGs, you will be able to make slight white balance adjustments to your images but will not be able to make drastic corrections.
Using Auto White Balance (DON’T!)
With auto WB, it is as easy as it says. Your camera is looking in the picture for a „white“ spot and adjusts the whole profile to that. But what if you shoot a light blue coat? The color of the fabric will be interpreted as white and the camera sets its parameters to the colder temperature. So, everything in your picture will be red. Except the coat. That will be grey.
Try it on your own and use the White Balance Tool in Lightroom.
Conclusion
In modern cameras, it is not necessary to adjust white balance if you shoot RAW. But it helps you to understand light itself and the color behind that. If you shoot RAW and set the white balance correctly, it will save you a lot of time, because you don’t have to adjust a row of pics or even worse, every single picture.